
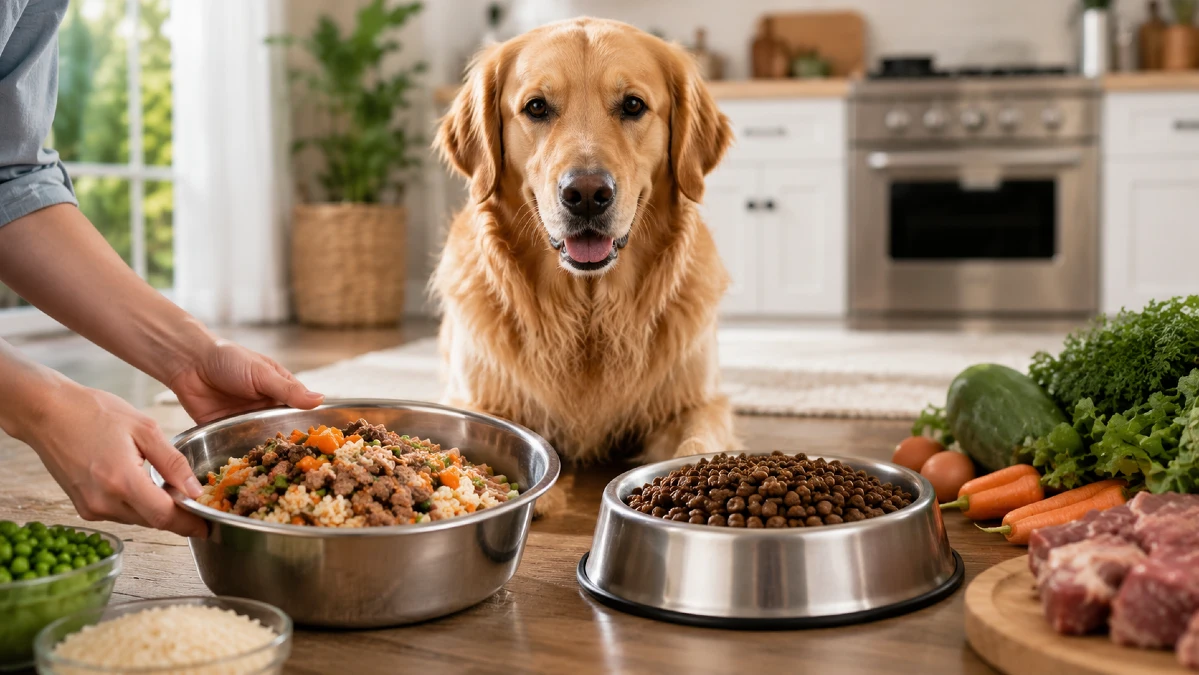
Feeding fresh food is tricky without a solid plan. A recent AVMA study shows 95 percent of online recipes lack essential nutrients. Jumping into unverified recipes often leads to emergency vet visits and nutritional deficiencies.
You want the very best meals for your pet. But a sudden change from kibble to fresh food causes severe stomach upset. Seeing your pet in pain breaks your heart and creates messy cleanup jobs.
You need a clear plan to protect their health. This guide teaches you exactly how to switch your dog to homemade food safely. You will learn the crucial 10 day timeline and the absolute necessity of AAFCO guidelines.
Why You Need a Dog Food Transition Schedule

A canine gut microbiome is highly customized to digest their current dry kibble. Their stomach makes specific enzymes for that exact processed food. A sudden introduction of fresh meats and vegetables can completely overwhelm their established digestive enzymes.
This biological shock leads to an upset stomach quickly. When Amanda switched her Golden Retriever Cooper to fresh chicken overnight he experienced three days of severe digestive upset. His body simply did not know how to process the new rich proteins.
You must give their sensitive digestive system time to catch up. A proper dog food transition schedule allows their gut bacteria to adjust slowly. This measured approach keeps their energy high and their digestion smooth.
Practicing patience in the first week absolutely prevents messy carpet cleanups later. A slow transition completely prevents this messy outcome. Your pet stays comfortable and you avoid stressful cleaning sessions.
Step 1: Source Vet Approved Homemade Dog Food
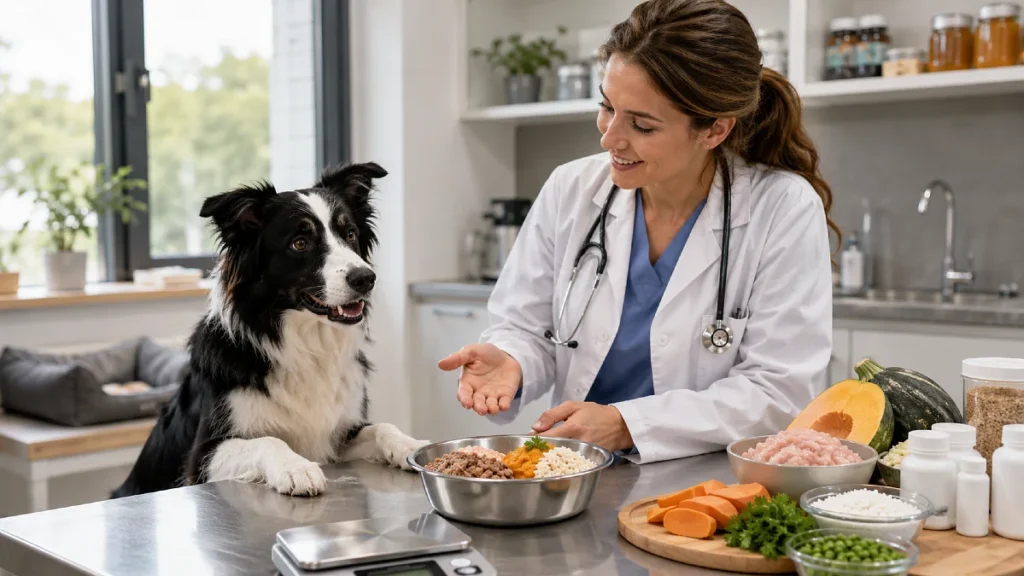
Please stop using random unverified recipes found scrolling through social media platforms. Simply boiling chicken and rice does not constitute a balanced long term canine diet. A truly balanced meal requires precise ratios of calcium and phosphorus to prevent bone density issues.
The American Veterinary Medical Association recently released an alarming study on pet nutrition. They found that out of 200 online recipes tested 83 percent had multiple severe nutritional deficiencies. Feeding these unbalanced meals long term causes irreversible harm to your loyal pet.
This is why finding vet approved homemade dog food is your mandatory first step. A Board Certified Veterinary Nutritionist knows exactly what your specific breed needs. They will calculate the exact vitamins and minerals required for daily feeding.
You will need to purchase your required vitamin and mineral supplements before any cooking begins. Do not start cooking until you have a digital kitchen scale and a reliable food processor. These handy tools make batch cooking significantly easier and much more precise.
Step 2: The 10 Day Homemade Dog Food Transition Timeline
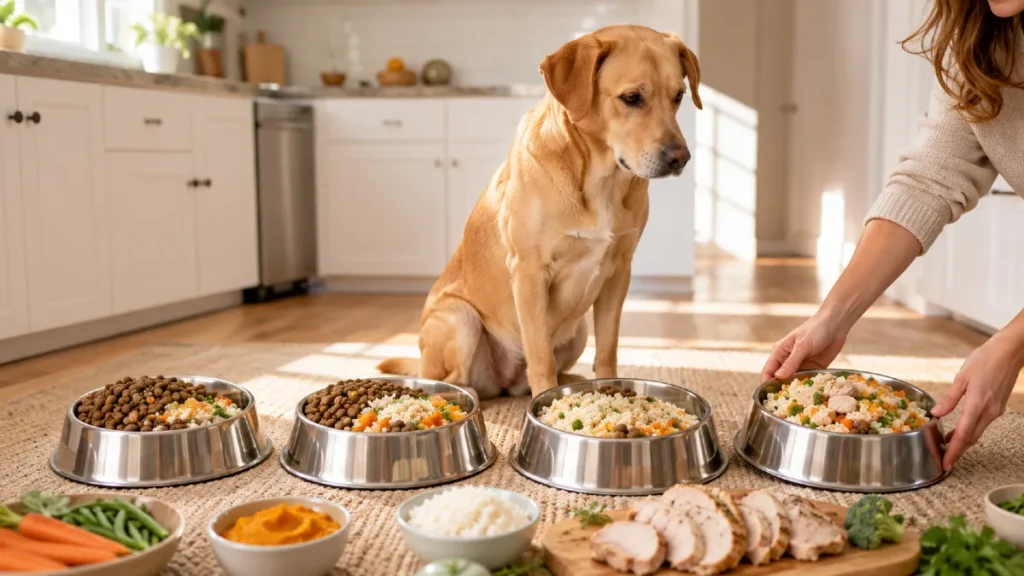
A slow deliberate transition is the absolute golden rule of canine dietary changes. You cannot rush biology when dealing with sensitive animal stomachs. We created a specific homemade dog food transition timeline to guide you safely.
For the first three days you will start very small. Begin by mixing a small quarter portion of the fresh homemade food with their standard kibble. This introduces the new protein and moisture content gently without overwhelming their digestive enzymes.
As you move into the second week you will increase the fresh portions. Increase the homemade portion so that it makes up exactly half of their daily caloric intake. Monitor their stool closely during this phase as this is when most minor digestive shifts occur.
By days seven to nine serve mostly fresh food with just a small quarter portion of the original kibble mixed in. Their gut microbiome should be well adjusted by now resulting in consistent energy and firm digestion. You will see less stomach bloating and more active playtime.
On day ten you can now completely remove the old kibble and serve fully balanced homemade meals exclusively. Continue to weigh their portions on a digital kitchen scale to maintain a healthy and consistent weight. This simple tool prevents accidental weight gain over time.
Remember that you can always slow the timeline down. But you should never speed the process up. If they get sick simply go back to the previous day ratio.
Step 3: Monitor Health and Adjust the Schedule
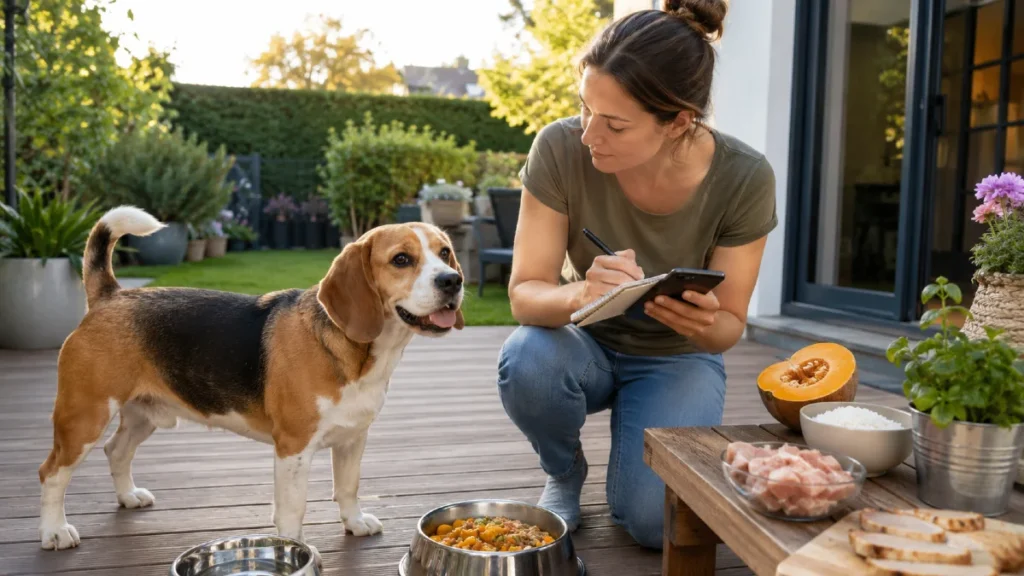
You need to watch your pet closely during this entire dietary change. Look carefully at their daily routine bathroom habits and overall energy levels. A healthy dog will have firm stools and a highly active personality.
It helps to know what normal transition symptoms look like compared to severe signs. Mild gas is normal but severe vomiting requires an immediate vet visit. If diarrhea occurs you should immediately pause the transition and revert to the previous food ratio for a few days.
Older dogs or sensitive breeds may require a full 14 day transition period instead of 10. There is no penalty for taking extra time to protect their sensitive stomachs. Knowing how to switch your dog to homemade food safely means listening to their body.
Using safe functional ingredients makes a huge difference in their daily digestion. You should always include these trusted staples in your early homemade meals.
- Lean ground turkey for gentle protein
- Pureed plain pumpkin for firm stools
- Cooked brown rice for easy digestion
Soon you will notice improved coat shine and better daily energy levels. Your patience now leads to years of vibrant health for your best friend. You will feel great knowing exactly what goes into their bowl.
How to Store and Prep Fresh Meals Safely
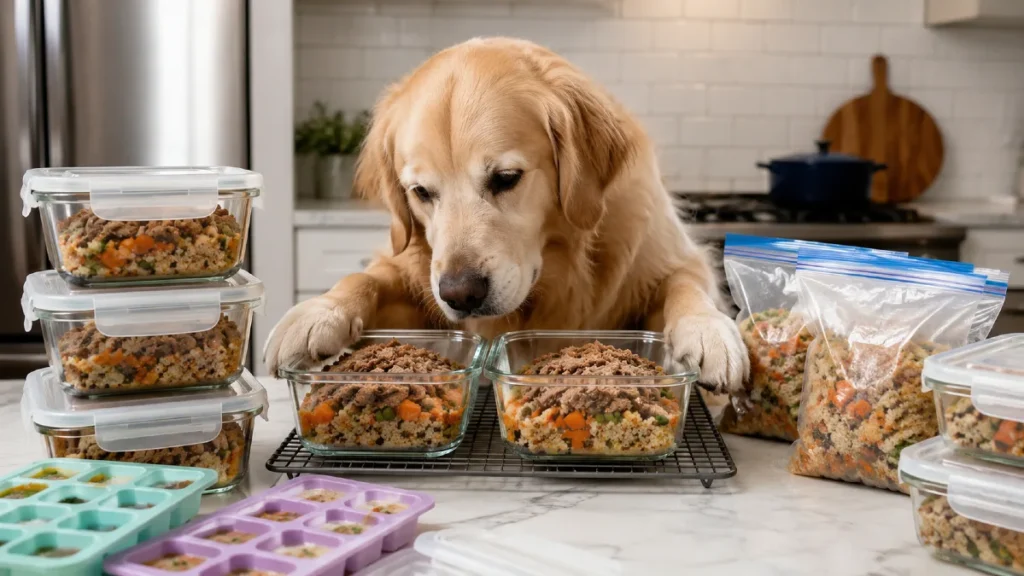
You need a smart system for keeping fresh pet meals safe from harmful bacteria. Raw meats and cooked vegetables spoil quickly if left out on the kitchen counter. Proper storage prevents serious food poisoning and saves you hours of daily cooking time.
Sara learned this lesson when she left a fresh batch of turkey food in the fridge too long. Her dog got sick because the meal went bad after five days of sitting there. You must label every single container with the exact date you cooked the food.
Freezing your extra portions is the best way to keep ingredients completely fresh. You can move frozen meals to the fridge the night before feeding time to thaw safely. Never heat the food on high because extreme temperatures destroy delicate added vitamins instantly.
Glass containers are much better than cheap plastic bowls for long term freezer storage. Plastic traps old smells and bacteria that can upset your pets delicate stomach over time. Clean your digital scale and prep area thoroughly after mixing any raw meat ingredients.
Conclusion
Patience and precise veterinary recipes are the absolute keys to success. You cannot skip vital steps when dealing with delicate animal nutrition. Following a slow measured transition protects your pet from unnecessary discomfort and pain.